Hello! My name is Karen and I blog over at The Quiet Owl. Today, I'm going to show you how to make a Pompom Garland. Pompoms are super easy to make and can be used for a variety of crafts. Here's what you'll need...
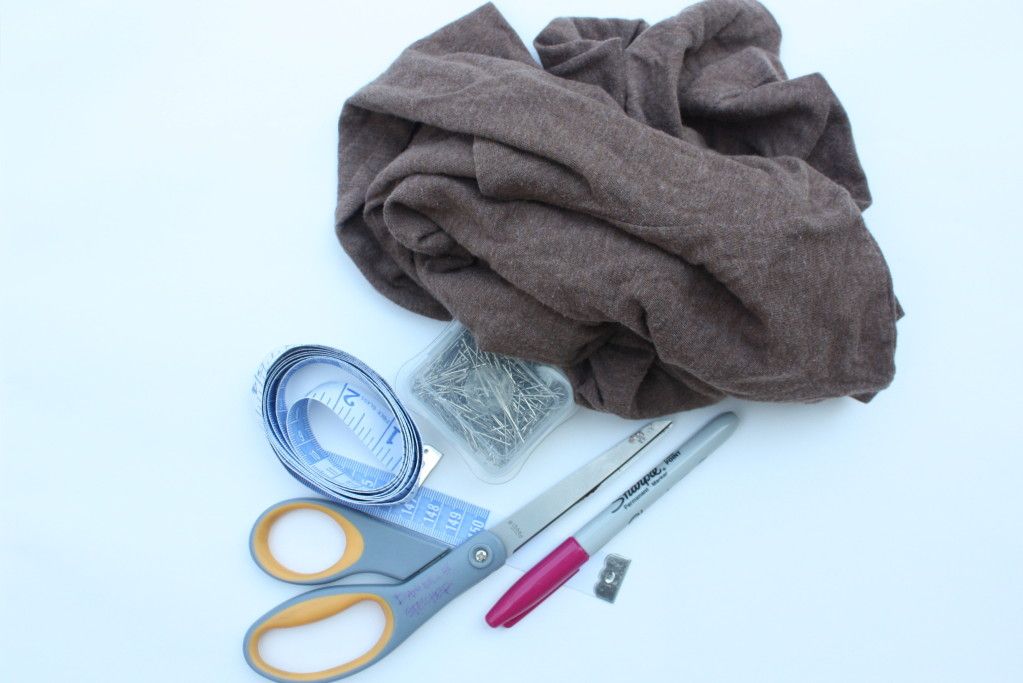
- Yarn- Any kind will do, but I would stay away from cotton and use an acrylic blend.
- Thin cardboard- from a cereal box or anything of the sort will work fine.
- Scissors.
- Tapestry Needle.
2. Put the two pieces together so the chunks you cut out align.
3. Start wrapping your yarn around the template. It doesn't really matter if the yarn is evenly wrapped around the template, just as long as you get it covered. Don't get too close to the edges.
4. The more yarn you wrap around the template, the fuller the pompom will be. I wrapped mine around just twice, but if you want a fuller look, I would wrap around at least 4 times. Cut off the yarn at any point.
5. Now, carefully start cutting around the edge as shown. Make sure you have a good grip on the rest of the yarn so it doesn't fall apart. You make have to chop at it a bit, as it's thick and hard to cut.
6. Cut another piece of yarn, about 5" long. It can be the same color as the yarn you are using, but I would recommend a different color just so that it's easier to see. Slide it between your 2 template pieces. Tie a knot as tight as you can get it, then repeat in the same spot. Double knot the yarn in a few different places so your pompom won't fall apart.
7. Slide your template pieces apart. Snip the loose parts of yarn off from where you tied your knots. Now you can slide the templates all the way off.
8. Now you have a pompom! But, you may have a few pieces of yarn that are longer than others. Just give your pompom a haircut until it's an even ball. Remember, it doesn't have to be perfect!
9. Once it's fairly even all the way around, you're done with the pompom.
10. Thread your yarn on your tapestry needle like you are about to sew something.
10. Thread your yarn on your tapestry needle like you are about to sew something.
11. Carefully stick your needle through the middle of the pompom and pull it through. Repeat for all of your pompoms. You'll want to get plenty of slack of either side of your pompoms to hang them. Space them out however you like (I did about an inch or so between mine).
That's it! Now you can hang your garland wherever you like!!!
__________________________________________________
Thank you so much Karen! I just love this fun little craft and can't wait to make on myself! By the way, funny and random coincidence- I have that same owl on your mantel! :) Dear readers, please be sure to stop by Karen's blog, The Quiet Owl. You won't be disappointed! Happy Monday!


